How to Organize Prepper Pantry: A Real-Life Guide to Emergency Food Storage That Actually Works
Learn how to organize prepper pantry with practical tips on food storage, containers, rotation, and space-saving strategies that keep your family ready for anything.
Let me set the scene.
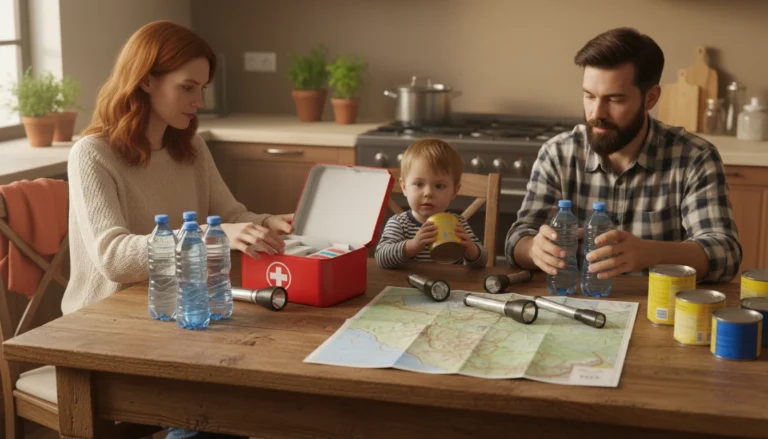
It’s day two of a winter storm. Power’s been out since yesterday morning, and outside looks like a snow globe someone shook too hard and just never put down. I’m standing in my kitchen in two sweaters and a headlamp, staring into a cabinet that has: half a box of stale crackers, a can of chickpeas I bought with great intentions and zero follow-through, and one lonely packet of instant oatmeal I’d been hoarding for a “really desperate” morning.
That was the really desperate morning.
Around noon, my neighbor knocked to check on me. She had a thermos of actual hot soup, a completely unbothered expression, and the energy of someone who had absolutely prepared for this. She wasn’t a survivalist. No bunker. No camo. Just a well-stocked pantry, a simple system, and the foresight to actually use it. I ate her soup, thanked her an embarrassing number of times, and spent the rest of that storm making a mental list of everything I was going to do differently.
That list became my prepper pantry. And I’ll be honest — it changed how I think about home, security, and what “being ready” actually means in practice.
If you’re here because you’ve had your own crackers-in-a-headlamp moment, welcome. You’re among friends. And if you’re here because you’re smart enough not to wait for that moment — honestly, even better. Either way, this is a guide on how to organize a prepper pantry that works for real life, not just the dramatic hypotheticals.
Why Organizing Your Prepper Pantry Matters More Than You Think
Nobody really talks about the emotional side of being prepared. But it’s real.
When you know your household has food, water, and basic supplies covered, something shifts. It’s not dramatic — it’s more like a quiet exhale. You stop doing that anxious mental math every time a storm rolls in. You stop wondering how long you’d actually last if something went sideways. You just know. And knowing, it turns out, is most of the battle.
FEMA recommends every household maintain at minimum a three-day emergency food and water supply, with a two-week supply being the stronger standard for more serious disruptions. I know “two weeks of food” sounds like a lot when you’re starting from zero. It did to me too. But when you build it gradually — category by category, without trying to do everything at once — it stops feeling like a project and starts feeling like a habit. A good one.
And the scenarios that make a prepper pantry worth having aren’t just dramatic. Earthquakes and hurricanes, sure. But also: a bad ice storm, a job loss, a week when the grocery store shelves are inexplicably empty. These things happen to regular people in regular neighborhoods, usually without much warning. A well-organized prepper pantry means you can find what you need quickly, use it before it expires, and stay calm when everything around you isn’t. That’s not paranoia. That’s just being a prepared adult — and there’s something genuinely empowering about it.
Start With a Plan Before You Buy Anything
Here’s my slightly controversial advice: don’t go to the store yet.
The natural instinct when you decide to build a prepper pantry is to immediately drive to Costco and fill a cart with everything that has a long shelf life. I did exactly this. I came home with a genuinely impressive amount of canned goods, zero organizational strategy, and a husband who looked at the kitchen counter and said, very quietly, “What is happening right now?”
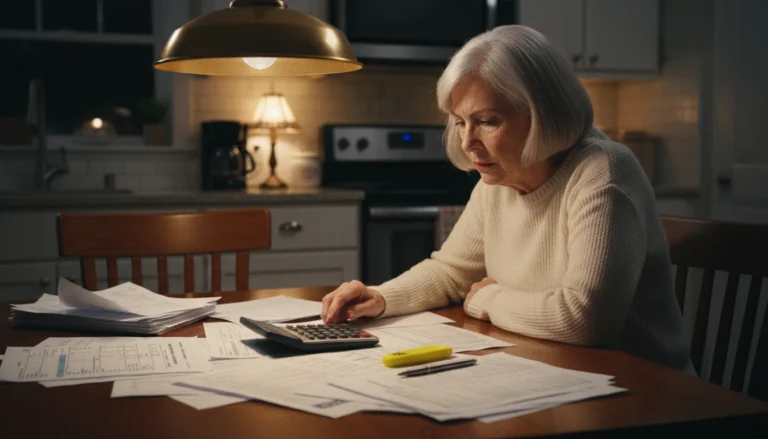
What I should have done first — what I’d tell anyone starting out — is spend ten honest minutes thinking through a few key questions before spending a single dollar.
How many people am I actually feeding? Don’t forget pets — my dog eats more than I budget for, and I’ve learned to plan accordingly. What does my family genuinely eat on a regular basis? What dietary restrictions need to be factored in from the start, not bolted on later? What space do I realistically have? What emergencies are most likely where I live? And — this one trips people up constantly — how will I actually cook if the power goes out?
Food safety researcher B. Nummer noted in a 2013 guide on emergency food storage that the most common planning failures come from not thinking through cooking methods and water requirements before stocking up. It sounds obvious until you’re standing in a dark kitchen at 7pm with a can of soup and no way to heat it. Ten minutes of planning prevents that exact scenario. Take the ten minutes.
What to Stock: Building Your Prepper Pantry Supply List
The Non-Negotiable Staples
When it comes to how to organize a prepper pantry, the foundation is always the same: long-shelf-life, nutrient-dense foods that your household will actually eat. Not foods you think you should eat. Not foods that look responsible on a shelf. Foods that will genuinely get used, rotated, and appreciated when it counts.
White rice is the golden retriever of pantry staples — dependable, universally liked, and always there when you need it. Pair it with dried beans or lentils and you’ve got a complete protein source that costs almost nothing and lasts for years. Add pasta, rolled oats, and cornmeal and you’ve got a grain foundation that covers breakfast, lunch, and dinner without much fuss.
Canned goods fill in the gaps — vegetables, fruits, fish, chicken, soups. Go low-sodium where you can, and please, stock things your family actually likes. This isn’t a punishment pantry. Freeze-dried meals are pricier upfront but shelf-stable for up to 25 years and genuinely useful for the “I cannot deal with cooking right now” moments — which, let’s be honest, happen even outside of emergencies.
Don’t overlook fats and oils. Coconut oil, olive oil, ghee — these are chronically underestimated and critically important. You can’t cook rice and beans without fat, and fat is essential for caloric density. Then there are the condiments: honey (which literally never expires — archaeologists found 3,000-year-old honey in Egyptian tombs that was still edible, which is one of my favorite facts to drop at dinner parties), salt, sugar, vinegar, soy sauce, and whatever hot sauce your household considers non-negotiable. Morale is a real and measurable thing. Stock accordingly.
Water: The One You Cannot Skip
One gallon per person per day is the baseline — and that’s just for drinking and basic hygiene. Factor in cooking, pets, and any medical needs, and you’ll want more. Store water in food-grade, BPA-free containers, keep them somewhere cool and dark, and rotate every six months. Water purification tablets or a quality filter like a Sawyer Squeeze are smart, compact backups that take up almost no space and give you a lot of peace of mind.
Water storage was the last thing I got around to setting up, and it absolutely should not have been. It’s the most critical piece of the whole system. Don’t make my mistake.
The Comfort Items Nobody Puts on Lists
Instant coffee. Tea. Chocolate. Hard candy. A bottle of your favorite hot sauce. Day one of a power outage, you’re fine — it’s almost kind of an adventure. Day four, when the novelty has completely worn off and everyone is tired and stressed and bored, the ability to make something that smells and tastes like normal life is genuinely priceless. Stock the comfort items. Future you will be unreasonably grateful.
The Best Containers for Long-Term Food Storage
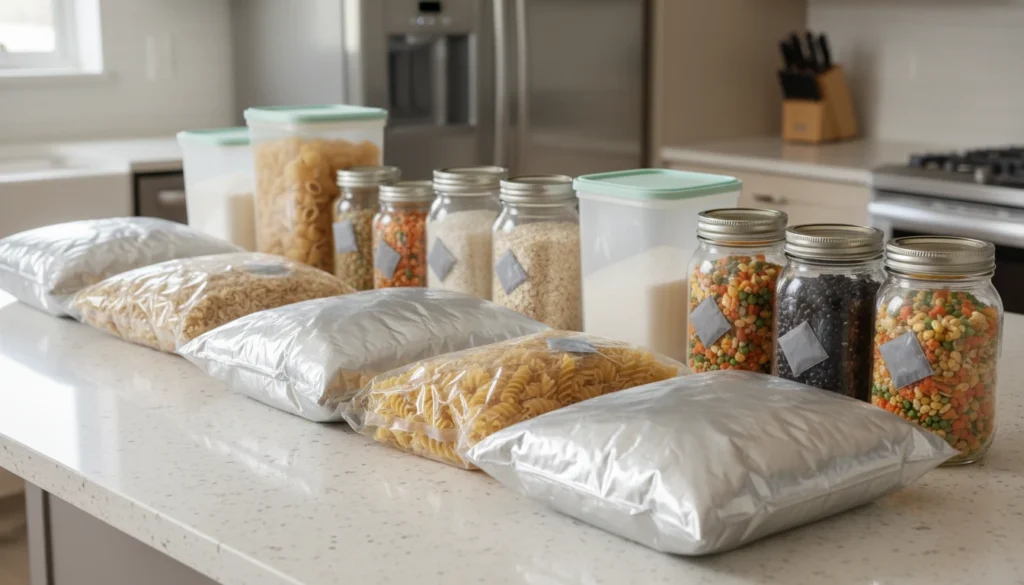
Choosing the right containers is where a lot of people either nail it or completely miss the mark. The goal is simple: keep air, moisture, light, and pests out. Everything else is just details.
| Container Type | Best For | Key Benefit |
|---|---|---|
| Airtight plastic containers | Grains, cereals, snacks | Lightweight, stackable |
| Glass mason jars | Dry goods, spices, legumes | Non-reactive, reusable |
| Vacuum-sealed bags | Meats, vegetables, bulk items | Removes air, extends shelf life |
| Mylar bags + oxygen absorbers | Long-term dry goods storage | Blocks light, oxygen, and moisture |
| Food-grade 5-gallon buckets | Large quantities of rice, flour, beans | Durable, pest-resistant |
Why Oxygen Absorbers Are Worth the Attention
When I first heard about oxygen absorbers, I thought it sounded like overkill — the kind of thing only serious preppers bother with. Then I came across a 2015 review by S.A. Cichello published in Food Packaging and Shelf Life that genuinely changed my mind. The research found that oxygen absorbers play a measurable role in preserving color, texture, aroma, and food safety — particularly when combined with oxygen-impermeable packaging like Mylar bags. They pull residual oxygen out of sealed packages, which slows oxidation and stops microbial growth before it starts.
Practical translation: rice you seal properly today can still taste like actual rice a decade from now. That’s not marketing. That’s just science working in your favor. Oxygen absorbers cost pennies per packet. Use them for anything you’re storing longer than a year — it’s one of those small investments that quietly pays off in a big way.
Airtight and Vacuum Sealing
Airtight containers block humidity and pests. Vacuum sealing removes air to slow oxidation. Together, they’re the gold standard for grains, dried fruit, dehydrated foods, and anything stored in bulk. A basic vacuum sealer runs about $30–$50 and is honestly one of the most useful small appliances I own. I use it for regular meal prep too, so it earns its counter space twice over without any guilt.
How to Rotate Food in Your Prepper Pantry Without Losing Your Mind
Rotation is the step most people skip — and it’s exactly why pantries end up full of expired cans that get quietly thrown away during spring cleaning while you feel vaguely guilty about the waste. I’ve been there more than once. It’s not a great feeling, especially when you realize you just threw away money you spent trying to be responsible.
The system is called FIFO — First In, First Out. Newer items go to the back. Older items come to the front. You always grab from the front. Simple in theory, easy to forget without a little structure built in.
Every container gets a label with three things: what it is, when you bought it, and when it expires. Use waterproof labels or a waterproof marker — humidity is sneaky and will absolutely destroy a regular paper label over time. I learned this the hard way after a damp summer turned half my labels into illegible smudges that told me absolutely nothing.
Group similar items together — all grains in one section, all canned proteins in another, all snacks in a third. Within each category, arrange by expiration date with the soonest-to-expire items at the front. Once this system is in place, rotation becomes almost automatic. You just naturally grab from the front without having to think about it, which is exactly the kind of low-effort habit that actually sticks.
Set a calendar reminder for a quarterly pantry audit. Walk through your stock, check dates, note what’s running low, and update your list. It takes maybe twenty minutes and prevents the slow, sneaky creep of expired goods that turns a well-stocked pantry into a liability. I do mine at the start of each season — it’s become one of those weirdly satisfying rituals, like a little reset button for the whole system. Twenty minutes, four times a year. That’s genuinely all it takes.
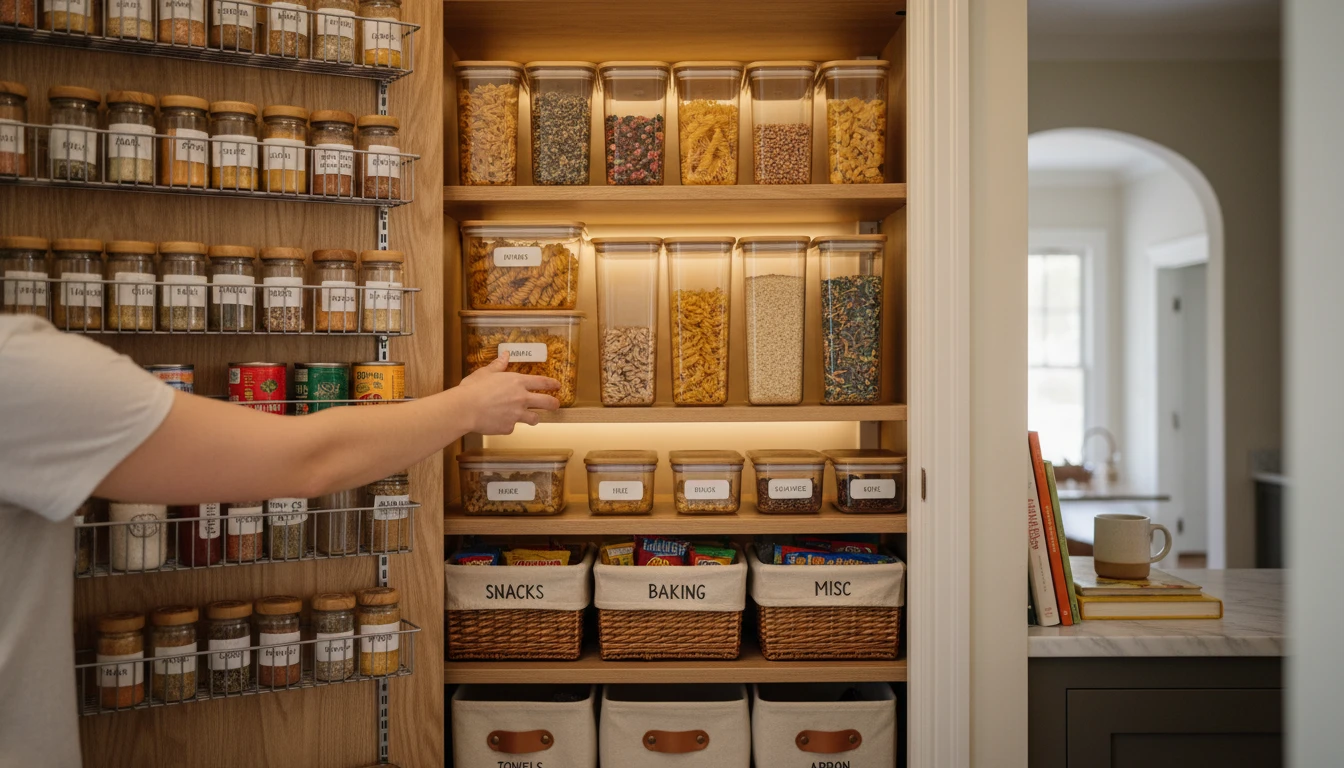
Space-Saving Strategies for Every Pantry Size
Here’s something I really want you to hear: you do not need a large dedicated pantry to build a solid emergency food supply. I once fit a two-week supply into a hall closet that also housed a vacuum cleaner, three board games, and a collection of reusable bags that had somehow multiplied on their own. Where there’s a will, there’s a shelf.
Making the Most of What You Have
Most people use about 60% of their available shelf height and just leave the rest as dead space. Install additional shelves, use stackable containers of uniform size, and think upward. The ceiling is further away than you think. Adjustable shelving systems are inexpensive and make a dramatic difference in how much you can actually fit without the space feeling chaotic.
Over-the-door organizers aren’t just for shoes. They’re perfect for spices, small cans, condiment packets, and first aid supplies. Adding one to my pantry door was a genuine revelation — suddenly I had room for an entire extra category of supplies without touching a single shelf. It’s one of those changes that makes you wonder why you didn’t do it sooner.
Invest in containers designed to stack — same brand, same size. Mismatched containers are the enemy of vertical space and the source of that avalanche that happens every time you open the cabinet too fast. Uniform containers also make labeling and rotation significantly easier. Small decision, big daily payoff.
Think Beyond the Kitchen
If your pantry space is genuinely limited, think outside the kitchen entirely. Flat storage bins under beds work beautifully for canned goods and sealed dry goods. Under-stair spaces, if accessible, can hold a surprising amount of bulk storage. A spare bedroom closet, a corner of the garage, a dedicated shelf in the laundry room — the goal is to distribute your supplies intelligently, not cram everything into one spot until the door won’t close properly.
Shoe organizers, magazine holders, tension rods, and small bins from the dollar store can all be repurposed creatively and cheaply. I use a magazine holder to store flat packets of oatmeal and soup mixes upright. It sounds a little ridiculous until you see how much space it saves — and then it just sounds clever.
Common Mistakes That Quietly Undermine Your Prepper Pantry
Stocking food nobody eats is probably the most common one, and it’s so easy to fall into. If your family doesn’t touch lentils on a normal Tuesday, they are not going to develop a sudden appreciation for them on day three of a stressful power outage. Stock what you know, then expand slowly from there.
Forgetting about cooking methods is a close second. Canned goods are great until you realize you have no way to heat them. Think through your fuel and cooking options before you stock up, not after you’re already committed.
Treating water as an afterthought is a mistake I made personally and one I see constantly. You can survive weeks without food. You cannot survive days without water. It should be the first thing you sort out, not the last item on the list.
Buying in bulk without a rotation plan is just expensive, guilt-inducing waste waiting to happen. And storing food in the wrong conditions — near appliances that generate heat, in damp basements, or anywhere with direct sunlight — quietly destroys shelf life faster than almost anything else. Keep your pantry cool, dark, and dry. Think of it like a wine cellar, but for rice and chickpeas and the occasional emergency chocolate bar.
Putting It All Together
The honest truth about how to organize a prepper pantry is that it’s not a one-time project. It’s an ongoing habit — but a light one. Once the system is in place, maintaining it takes maybe an hour a month. The hard work is upfront, and then it mostly runs itself.
Start small if you need to. A two-week supply of staples, properly stored and labeled, is infinitely better than nothing. Build from there as your budget and space allow. You don’t have to do it all at once, and you definitely don’t have to do it perfectly. The goal isn’t a Pinterest-worthy pantry — though a well-organized one does look genuinely satisfying. The goal is readiness. Quiet, confident, no-drama readiness.
The next time a storm rolls in, the power goes out, or life just gets unexpectedly complicated, you won’t be the person frantically clearing shelves at the grocery store at 9pm. You’ll be the one who already has everything they need, calmly making dinner while everyone else scrambles. And if you’re feeling generous, maybe you’ll be the neighbor who shows up with hot soup and a completely unbothered expression.
That’s the kind of prepared I want to be. I think it’s the kind you want to be too.
Start today: open your kitchen cabinets, grab a notepad, and write down what you already have. That’s step one. Everything else builds from there — one can, one container, one labeled shelf at a time.