How to Store Water Prepper Style for Retirees: The Only Emergency Water Guide You’ll Ever Need
How to store water prepper style for retirees covers safe containers, smart storage, simple rotation, and reliable purification — so you’re ready for real emergencies without the overwhelm.
I didn’t get serious about emergency water storage because I suddenly wanted to become “that prepper guy” in retirement.
You know the one — organized bins, labeled shelves, a flashlight for every possible mood, and a very strong opinion about freeze-dried meals. I got serious because my water went out for a few days after a storm, and I realized very quickly that modern life feels a lot less modern when you can’t flush a toilet or make coffee. And in retirement, when your schedule is finally your own, having that kind of disruption hit without any preparation feels particularly humbling.
That little wake-up call changed how I think about preparedness. Food matters, yes. Batteries matter. A first-aid kit matters. But when people ask me where to start, I almost always say water first. Not because it’s dramatic, but because it’s practical. Learning how to store water prepper style for retirees is one of the simplest, smartest things you can do for your household — and it pays off in everyday emergencies just as much as big ones.
This guide keeps things grounded. No fear-mongering. No bunker fantasy. Just a clear, realistic look at containers, storage locations, rotation, and purification so your emergency water actually stays safe and usable — and so you can get back to enjoying retirement with one less thing to worry about.
Key Takeaways
- FEMA recommends at least one gallon of water per person per day for a minimum of two weeks
- Food-grade plastic, glass, and stainless steel are the safest container materials for long-term storage
- A mix of container sizes gives you both reserve capacity and practical portability
- Cool, dark, and stable storage conditions protect water quality over time
- Rotating stored water every six months keeps your supply fresh and your system current
- Boiling, chemical disinfection, and filtration are the three main purification methods
- A simple, maintainable routine beats a complicated system you’ll never actually use
- Retirees benefit especially from clear, low-effort systems that another household member can understand at a glance
Why Water Has to Come First in Retirement Preparedness
There’s a reason emergency planners keep coming back to water. You can stretch food, improvise lighting, and survive a surprising amount of inconvenience with a decent attitude and a few snacks. Water is different. Without it, the clock starts ticking fast — and for retirees managing health conditions, medications, or mobility considerations, that clock ticks a little louder.
FEMA recommends storing at least one gallon of water per person per day for a minimum of two weeks. That’s a helpful baseline, not some extreme number pulled out of thin air. Once you factor in drinking, basic cooking, brushing teeth, washing hands, and maybe a pet who drinks like an amateur athlete, that gallon disappears quickly.
When I first did the math for my own household, I had one of those quiet, humbling moments. I thought I was “pretty prepared” because I had a few cases of bottled water in the garage. Turns out, I had more confidence than actual gallons. That’s usually how these things go.
If you’re figuring out how to store water prepper style for retirees, start by thinking in real use, not wishful thinking. A household of two retirees needs far more than a random stash of single-use bottles. Water storage has to be intentional enough to last, but simple enough that you’ll actually maintain it.
That’s the sweet spot.
Picking the Right Containers for Retired Households
If water storage has a make-or-break detail, it’s the container. A lot of bad prep starts with good intentions and the wrong jug.
I say that as someone who once thought rinsed-out milk jugs were a clever budget solution. They were not. They were a shortcut to disappointment and probably a weird smell. Milk jugs are made from a thinner plastic that breaks down over time and is nearly impossible to sanitize completely. Lesson learned, mildly expensively.
Choosing the right container matters because the material affects taste, durability, safety, and how well your water holds up over time. If you want to learn how to store water prepper style for retirees in a way that doesn’t create more problems later, container choice is step one.
The Materials That Won’t Let You Down
For long-term storage, three materials consistently make sense: food-grade plastic, glass, and stainless steel.
Food-grade plastic is the most common choice for a reason. It’s lightweight, affordable, and easy to find in sizes that make sense for households. Look for BPA-free containers designed specifically for water or food storage. High-density polyethylene, often marked with recycling code #2, is a dependable option. It’s practical — not glamorous, but neither is hauling water in a crisis, so practical wins every time.
Glass is excellent when you want a non-reactive material that won’t absorb odors or affect taste. I like glass for smaller amounts I rotate more often, especially indoors. The downsides are obvious: it’s heavy, breakable, and not exactly ideal if mobility or grip strength is a consideration. I use glass selectively and store it low to the ground where it’s easy to access and less likely to fall.
Stainless steel is durable, corrosion-resistant, and great for rougher conditions. It tends to cost more upfront, but it lasts. If you want a storage option that feels sturdy and low-drama, stainless steel has a lot going for it — especially for retirees who want to buy once and not think about it again.
The common thread here is simple: use containers made to hold food or water. Skip anything that previously stored chemicals, cleaning supplies, or other non-food substances. No amount of scrubbing turns a bad container into a safe one. Some ideas belong on Pinterest, not in your drinking water plan.
Why a Mix of Sizes Works Best
One of the easiest mistakes in how to store water prepper style for retirees planning is thinking bigger always means better. Large barrels are great for reserve capacity, but they’re not the whole answer — especially for retirees who may not want to wrestle with a 55-gallon drum alone.
A better setup uses a mix of sizes because emergencies don’t all look the same. Sometimes you need long-term storage. Sometimes you need something you can carry without throwing out your back.
Small containers in the 1- to 5-gallon range are useful for portability. They’re easier to lift, easier to pour, and much more practical if you need to move water from one place to another. For retirees, these are often the most useful day-to-day containers.
Medium containers in the 5- to 15-gallon range are often the sweet spot for households. They hold enough to matter without becoming impossible to handle. If I were setting up from scratch, I’d probably build around these first.
Large containers — 15 gallons and up, including drums or tanks — make sense when you want a deeper reserve. They’re efficient, but they need space, planning, and a way to access the water without turning the whole process into a wrestling match. If you store large volumes, have a pump, spigot, or siphon system ready. “We’ll figure it out later” is not a strategy. It’s a future inconvenience wearing a fake mustache.
Cleaning Containers the Right Way Before You Fill Them
This is one of those unglamorous steps that makes everything else work. Clean containers are the difference between stored water and stored regret.
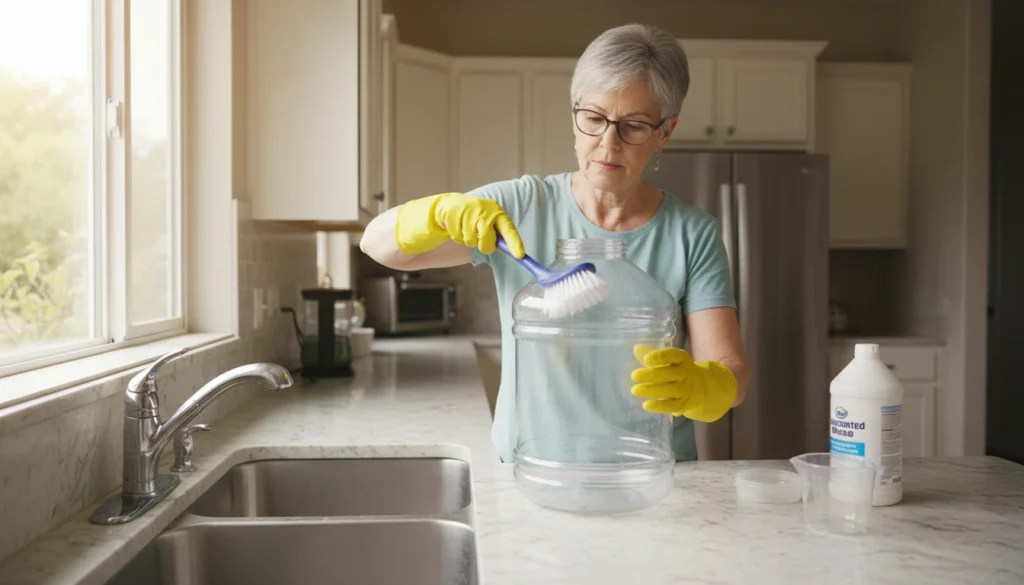
Even new containers should be washed before use. Dust, residues from manufacturing, and handling can all end up inside. Used containers need even more attention. My rule is simple: if I’m trusting it with emergency water, I’m cleaning it like I mean it.
Start with hot water and dish soap. Scrub the inside thoroughly, including the lid and threads, then rinse well. After that, sanitize with a dilute solution of unscented household chlorine bleach and water, swirl it around the container, let it sit briefly, then rinse again with clean water.
The exact concentration matters. The CDC has guidance for emergency water disinfection, and research on chlorine sanitizers backs up the idea that fresh, properly mixed solutions work best. A 2017 study in the Journal of Food Protection found that heat and light speed up degradation of sodium hypochlorite solutions — meaning mix sanitizer fresh when you need it, and don’t trust old bleach solutions that have been sitting around forever.
After rinsing, fill containers promptly with safe water using clean hands and clean tools. This part is not exciting, but neither is intestinal misery during a power outage. I try to keep the big picture in mind.
Where You Store Your Water Matters Just as Much as How
People focus a lot on containers and not enough on location. But the place you store your water can quietly ruin a perfectly good setup.
If you want to learn how to store water prepper style for retirees in a way that actually holds up, think about the environment around the containers. Water storage likes conditions that are boring: cool, dark, and stable. That’s the dream.
A basement, interior closet, pantry, or cool storage room usually works well. Garages can work too, depending on climate, but they’re trickier because temperatures swing more and household chemicals often live there as well. If your garage smells like gasoline, paint thinner, or lawn-care products, that’s not where I’d want my water hanging out for months.
The Conditions That Make or Break Everything
Light is the first enemy. Sunlight warms containers, encourages algae growth, and breaks down some plastics over time. Heat is the second. High temperatures can affect both the container and the water quality, especially with long storage periods.
The basics are straightforward:
- Keep water out of direct sunlight
- Store it in the coolest practical place you have
- Keep it away from gasoline, pesticides, solvents, and strong-smelling chemicals
- Raise containers off concrete floors using shelving, boards, or pallets
That last point surprises people, but it’s a good habit. Concrete can transfer moisture and temperature changes, and raising containers off the floor also makes inspection easier — which matters for retirees who want to avoid unnecessary bending and lifting.
I learned this the mildly annoying way when I found a container tucked behind paint cans in the garage and realized everything around it smelled like “weekend project.” The water itself looked fine, but it wasn’t a setup I trusted anymore. Once you notice how many weird fumes live in a garage, you stop wanting your emergency water stored beside them like roommates.
Rotating Your Supply Without Losing Your Mind
One reason people avoid water storage is that they assume it’s going to become a high-maintenance hobby. It doesn’t have to be — and for retirees who’ve already spent decades managing complicated schedules, this part should feel refreshingly simple.
Water rotation is just a simple rhythm. You fill it, label it, check it, and replace it on a schedule that makes sense. Done. If you can remember birthdays and streaming passwords, you can manage this.
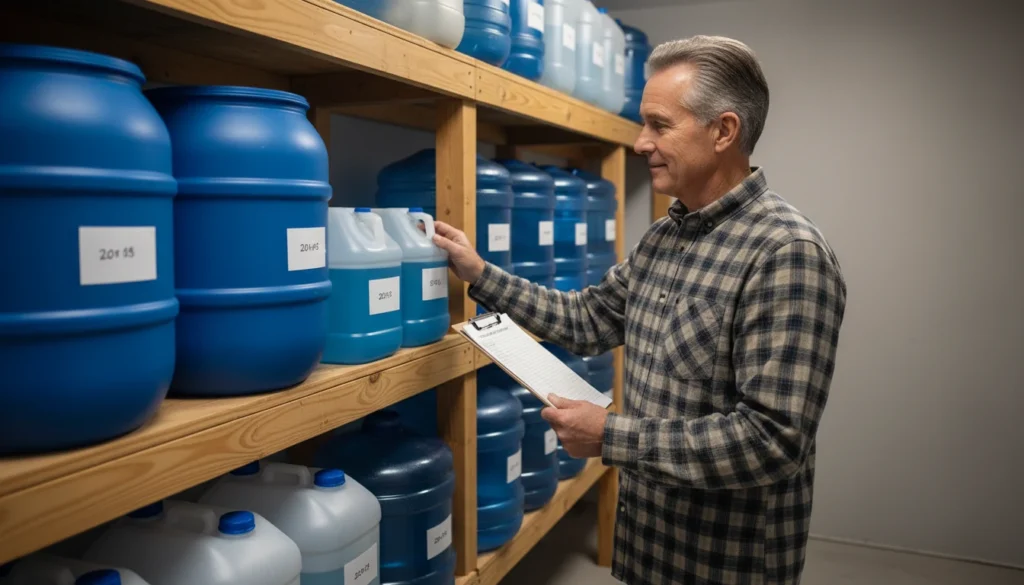
For most households, rotating stored water about every six months is a practical rule of thumb. Some commercially sealed water products last much longer, but for home-filled containers, regular rotation helps keep things fresh and keeps you connected to your system. A neglected prep is basically a decorative prep.
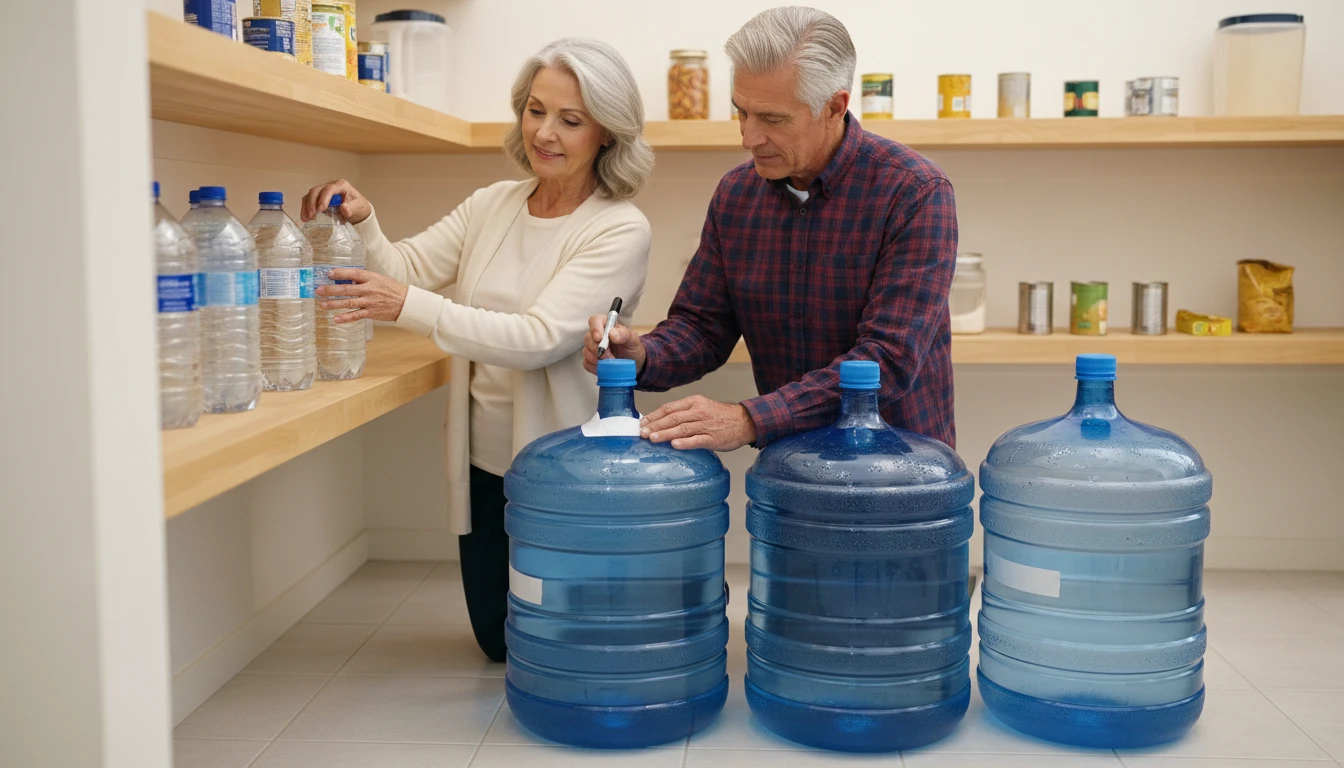
The Six-Month Rule and the Trick That Makes It Stick
I like tying water rotation to something else I already do twice a year — like changing smoke detector batteries or doing a seasonal pantry check. Once it becomes part of an existing routine, it stops feeling like one more thing on a long list.
Label every container with the fill date. Keep it simple. A piece of painter’s tape and a marker work fine. During rotation, inspect the container for cracks, leaks, warping, strange odors, and any visible changes in the water. If a container looks sketchy, retire it. Emergency storage is not the place for “it’s probably okay.”
Use the oldest water first. That first-in, first-out habit keeps the system moving and reduces waste. Old water doesn’t have to be dumped automatically — it can be used for plants, cleaning, or other non-drinking uses if it still seems fine. Then refill the container with fresh water and reset the date.
This is one of the best parts of learning how to store water prepper style for retirees: once the system is built, maintenance is boring in the best possible way.
Purifying Stored Water When You’re Not Sure It’s Safe
Even with a solid storage setup, there may be times when you’re not completely sure about the water. Maybe the container was left open. Maybe it’s older than planned. Maybe it smells off, looks cloudy, or came from a questionable source to begin with.
That’s where purification comes in.
The goal isn’t to panic every time water tastes a little flat. Stored water can lose dissolved oxygen and taste dull even when it’s still safe. But if something seems wrong, trust that instinct and treat it before drinking.
When to Treat and When You’re Fine
If the water came from a treated municipal supply, went into clean food-grade containers, and has been stored properly, it’s often fine to use without extra treatment. Still, there are obvious moments to slow down and reassess.
If you see cloudiness, floating particles, algae, or container damage, don’t just shrug and pour a glass. If it smells odd or tastes genuinely off, same story. Sometimes the safest move is retreat, not bravery.
That doesn’t mean all older stored water is automatically bad. It means use your eyes, nose, common sense, and backup treatment methods when needed. Preparedness is less about paranoia and more about not making avoidable mistakes.
Three Purification Methods That Actually Work
Boiling is the most familiar option, and for good reason. Bringing water to a rolling boil for at least one minute kills most disease-causing organisms. At elevations above about 6,500 feet, the CDC recommends boiling for three minutes. It’s simple, effective, and trustworthy if you have fuel and time.
Chemical disinfection is another standard option. Unscented household chlorine bleach can be used in emergency water treatment, but the amount depends on the concentration of the bleach. The CDC’s guidance is the right place to check because many bleach products today are more concentrated than older formulas. Water purification tablets are also useful, especially for portability and convenience.
Filtration is helpful when you need to remove sediment, protozoa, bacteria, or other contaminants — but filters vary a lot. Some improve taste. Some remove cysts. Some are rated for bacteria. Fewer handle viruses. If you rely on a filter, know exactly what it does. “Looks impressive” is not a technical standard.
For the safest approach with suspect water, combining methods often makes sense. Filter first if there’s visible sediment, then disinfect. Clean water is easier to treat effectively than murky water.
The Simple Routine That Keeps Everything Ready
The best emergency plan is one you’ll actually maintain. That’s true for flashlights, backup food, and definitely for water — and it’s especially true in retirement, when the goal is simplicity, not complexity.
My own routine is wonderfully unglamorous. Twice a year, I check dates, inspect containers, swap out older water, and make sure I still have bleach, purification tablets, and a working filter on hand. That’s it. No spreadsheet empire. No tactical soundtrack in the background. Just a dependable habit that takes maybe an hour and gives me months of peace of mind.
If you’re working on how to store water prepper style for retirees for the long haul, build a system that fits your life. Don’t design a Pinterest-perfect storage room if you know you’re never going to maintain it. A slightly plain system you actually use beats a beautiful one you ignore.
Keep your storage simple enough that another person in your home could understand it at a glance. That matters. In a real emergency, clarity is kindness — and in retirement, your partner or a family member may need to access your supplies without a tutorial.
Frequently Asked Questions
What are the signs that stored water has gone bad?
Cloudiness, unusual odor, visible growth, floating debris, or an off taste are the main warning signs. If anything seems off, treat it before drinking or replace it.
Can I use regular plastic containers?
Only if they’re food-grade and appropriate for water storage. Random plastic containers are not all created equal, and some were never meant for long-term contact with drinking water.
Does municipal tap water need treatment before storage?
Usually, treated tap water is fine to store in properly cleaned containers. Some people add an extra sanitizing step depending on storage conditions and duration, but the quality of the source water and the container prep both matter.
How long can stored water last?
Water itself can remain usable a long time if stored properly, but a practical household rotation schedule of around six months helps protect quality and keeps your system current.
What if I run out of stored water?
Then you move to backup sourcing and purification: collected rainwater, nearby natural sources, or other emergency options — always treated before drinking. Knowing how to purify matters just as much as knowing how to store water prepper style for retirees.
Is water storage different for retirees with health conditions?
It can be. Retirees managing chronic conditions, taking medications that require hydration, or with mobility limitations should factor those needs into their storage plan — including accessible container sizes and locations, and enough supply to support any health-related hydration requirements.
Final Thoughts on How to Store Water Prepper Style for Retirees
A lot of people put off water storage because they assume they’ll do it “properly” later. When they have more space. When they have more money. When they finally buy the perfect containers and organize the garage and become the sort of person who naturally enjoys labeling things.
I get that. I do. But later has a sneaky habit of arriving after the inconvenience.
Learning how to store water prepper style for retirees isn’t really about becoming extreme. It’s about becoming less fragile. A little less dependent on perfect conditions. A little less stressed when something breaks, leaks, freezes, or shuts down. In retirement especially, that kind of quiet resilience is worth a lot. You’ve worked hard to get here. A little preparation protects the life you’ve built.
Start smaller than your anxiety says you should. A week of water is better than none. A few well-chosen containers are better than a vague intention. One clean shelf in a cool closet beats a grand plan that never gets off the ground.
And once you’ve done it, you’ll probably feel what I felt: relief, mostly. Not excitement. Not survivalist glory. Just the quiet comfort of knowing that if the water stops running for a while, your household won’t immediately descend into chaos and snack-based bargaining.
That’s worth a lot.
So if you’ve been meaning to figure out how to store water prepper style for retirees, take this as your nudge. Get the containers. Clean them well. Store them smart. Rotate them on schedule. Keep a way to purify water if needed. Then move on with your life — a little more prepared, a little more settled, and a lot more ready for whatever comes next.
Honestly, that’s the whole point.
Do you have a water storage system already set up? Share what’s working for you in the comments — I’d love to hear how other retirees are handling this.